The Document Library is an optional, paid-for feature. If you're interested in learning more, please contact your Account Manager
The Document Library tool enables you to upload documents (PDFs, Word Docs, PPTs etc) to your site and insert them across your site. The benefit of the Document Library vs the standard media library is that it allows you to easily update old documents with new versions in a single step, rather than having to edit every page a document is hosted on. The tool also allows you to create categories of documents, and insert these lists into your site.
This article is split into three sections:
Adding a document to the library
Follow the handy guide below to add your documents:
Click "Documents"

Click "Add New"

Add the title of the document as you'd want it to be displayed on the site

You can add a brief description of the document in the text block, however this is not required

Tick this box if you want the document to auto-download when a user accesses it. If you don't select this, the link will open a different page with details of the document and a download link.
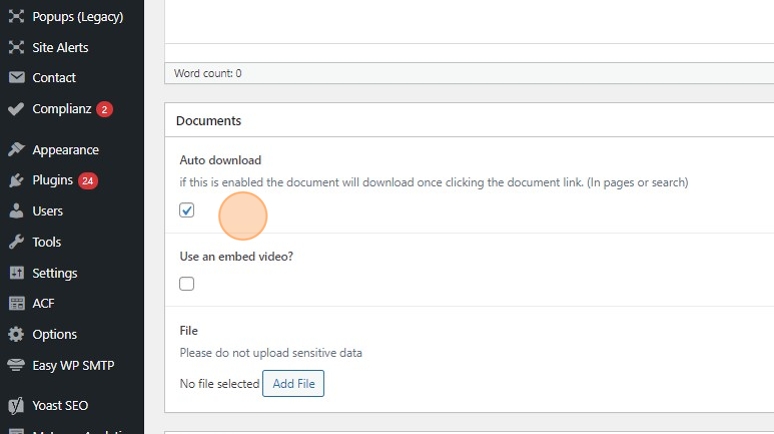
Click "Add File"

You will then need to upload a new file to associate with the document

NOTE: You are not able to select an existing item from your Media Library. This is by design to avoid you creating duplicate library items for the same file.
Click "Select"


Click "Publish" when ready.

Once uploaded, documents can be inserted into posts, pages and certain layouts.
Adding a document to a Webpage
Edit the webpage you want to add the document to and locate the position you wish to add it.
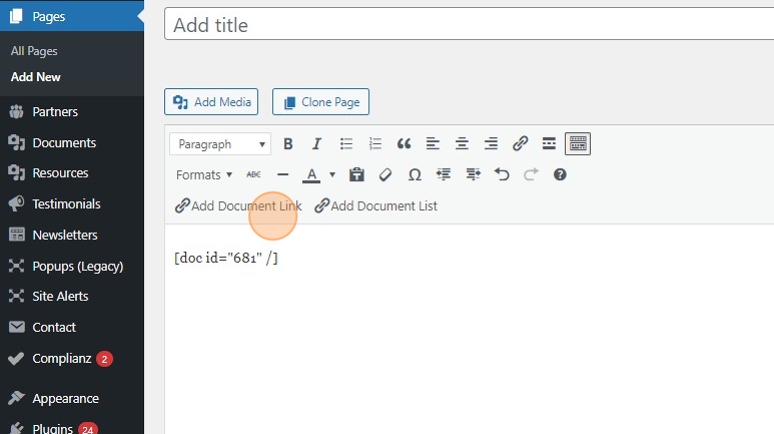
Click "Add Document Link".

Click the radio button next to your required document.

Click "Select Document" to confirm your choice.

The document will then be inserted into your page using a similar code to the one shown.
TIP: By default, the link displays the document’s name from the library. To customise the link text, enter your preferred wording in the Link Text (optional) field.
When ready, click on the "Publish"/"Update" button to save the page.

On the front-end, your document will be displayed as shown with the document name.

Adding a document list to a Webpage
Adding a document list to your webpage, will insert all document in the chosen category. E.G. if you tag 10 documents with a category "Annul Reports" you will be able to add all 10 documents with one single link.
NOTE: If you use a Document List it will automatically update. Therefore, if you add new documents or remove one from the category, it will keep the list constantly updated.
Locate where on the page you would like to start your Document list.

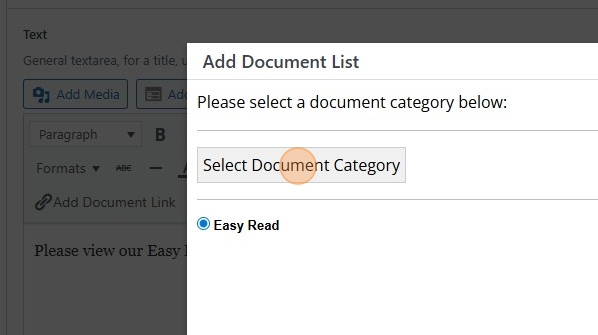
Click on the Add Document List button.

Select the Document Category from the options available you want to add to your page. In this example, we clicked on Easy Read.

Click on the Select Document Category button.
The code will be added to the page. Click on the Publish/Update button to save the changes.

You can then click on View Page to ensure the files appear as you want them too.

Looking for further information?
Email us at support@phew.org.uk and we will be able to give further clarification on any questions.